Guidde
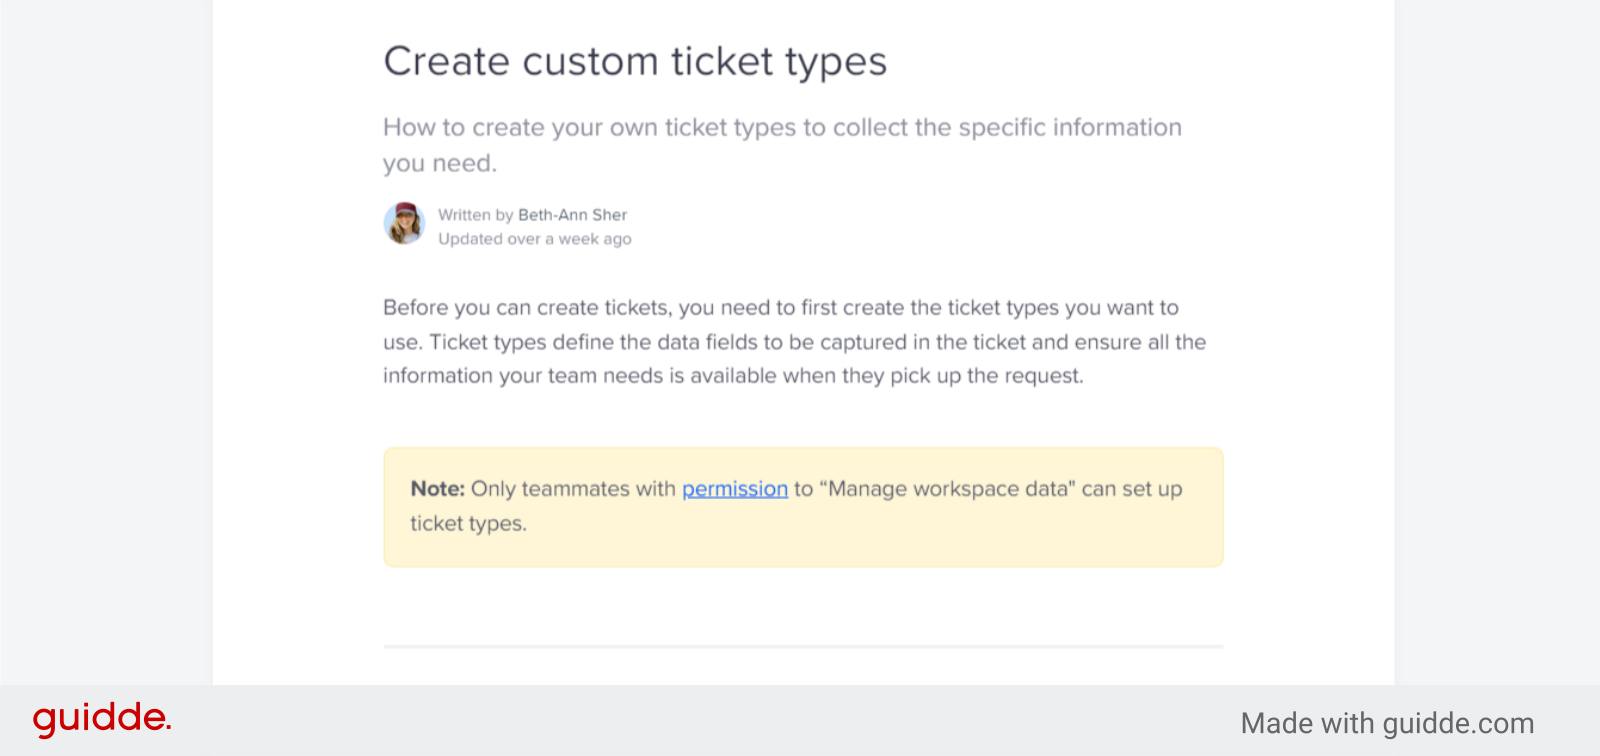
🎤 Create custom ticket types How to create your own ticket types to collect the specific information you need.
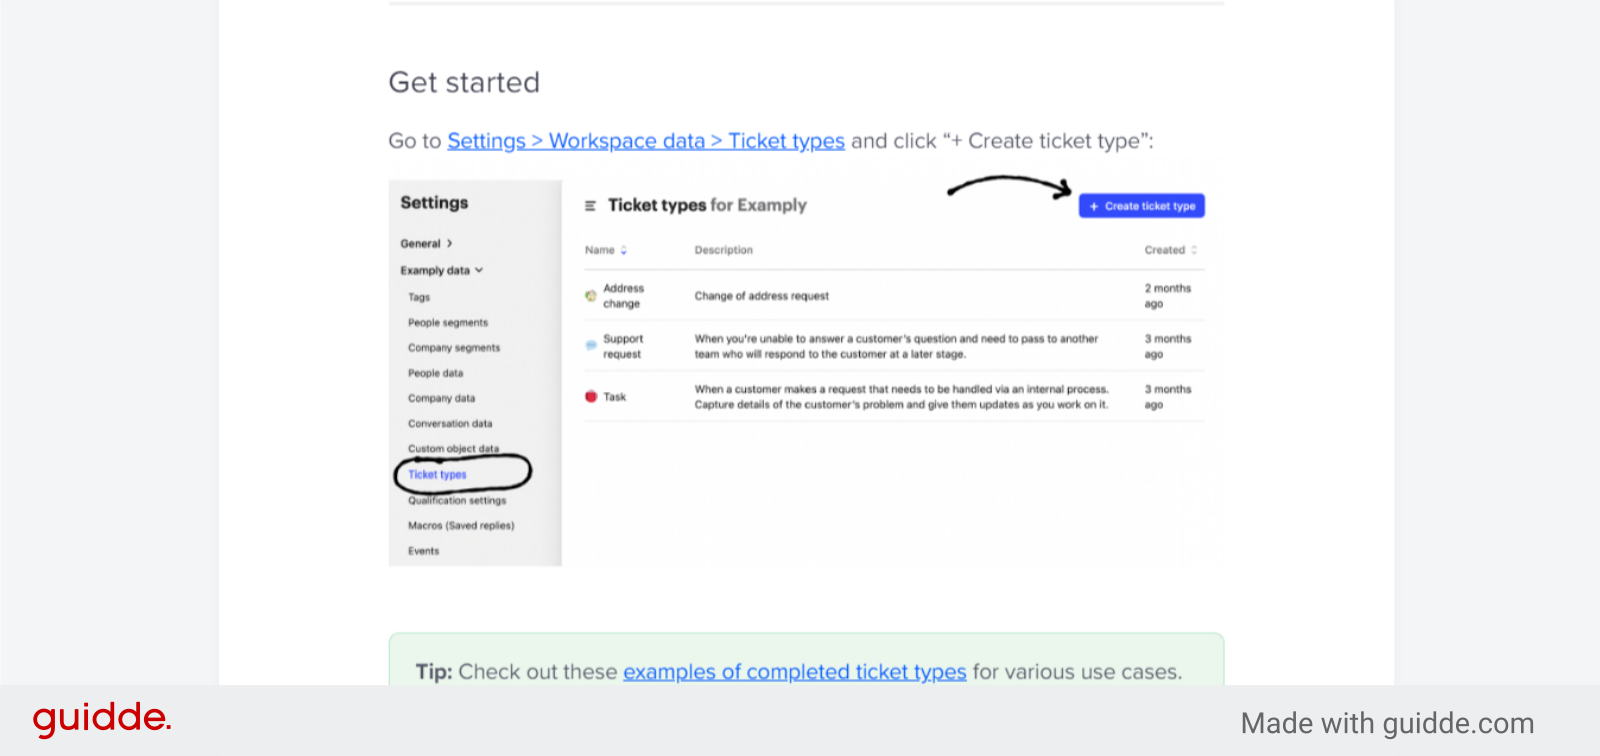
🎤 Get started Go to Settings > Workspace data > Ticket types and click “+ Create ticket type”:
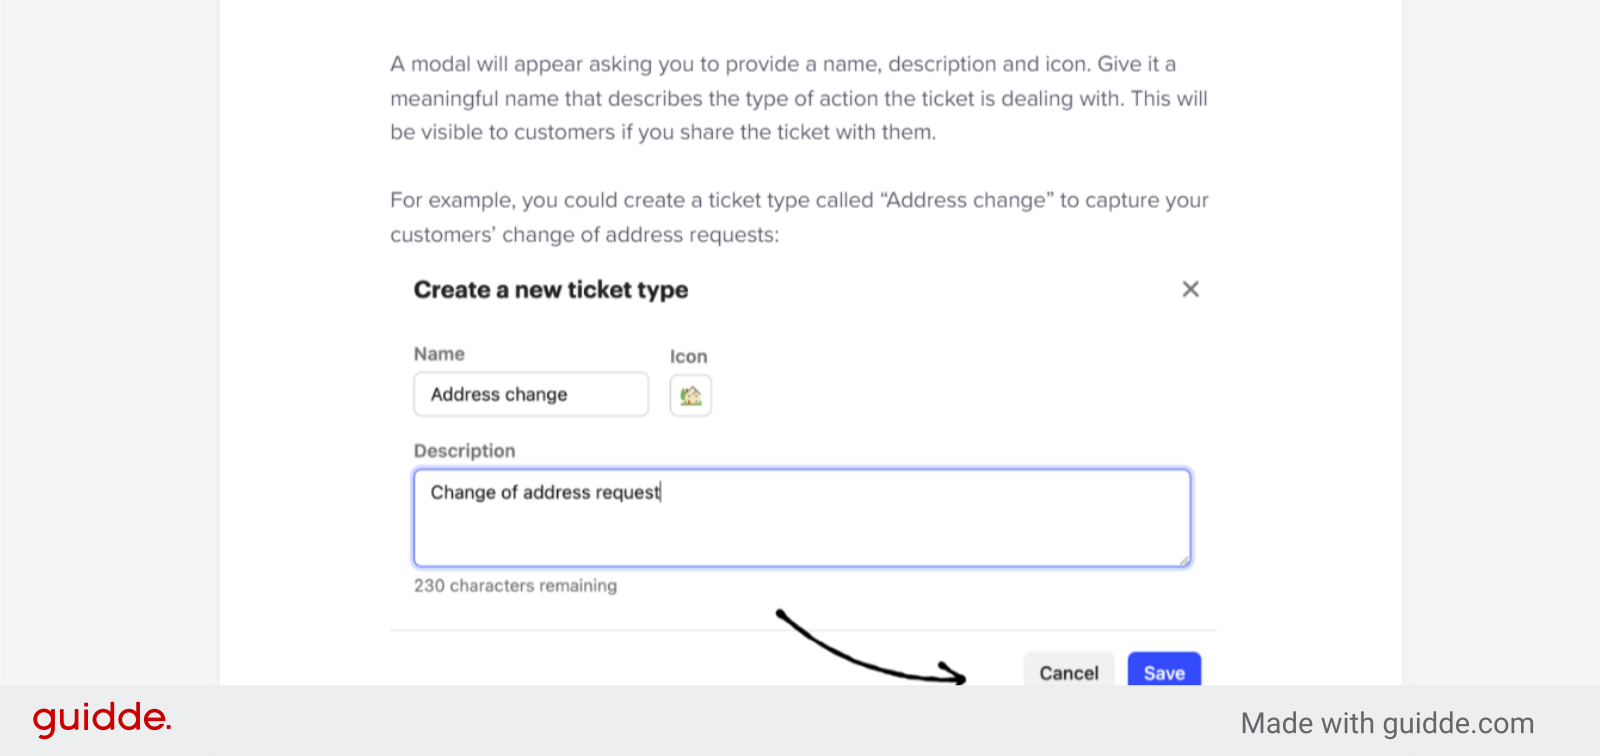
🎤 A modal will appear asking you to provide a name, description and icon. Give it a meaningful name that describes the type of action the ticket is dealing with. This will be visible to customers if you share the ticket with them. For example, you could create a ticket type called “Address change” to capture your customers’ change of address requests:
🎤 Add ticket type attributes Once you’ve saved the new ticket type, you can choose to create attributes for this specific ticket type.
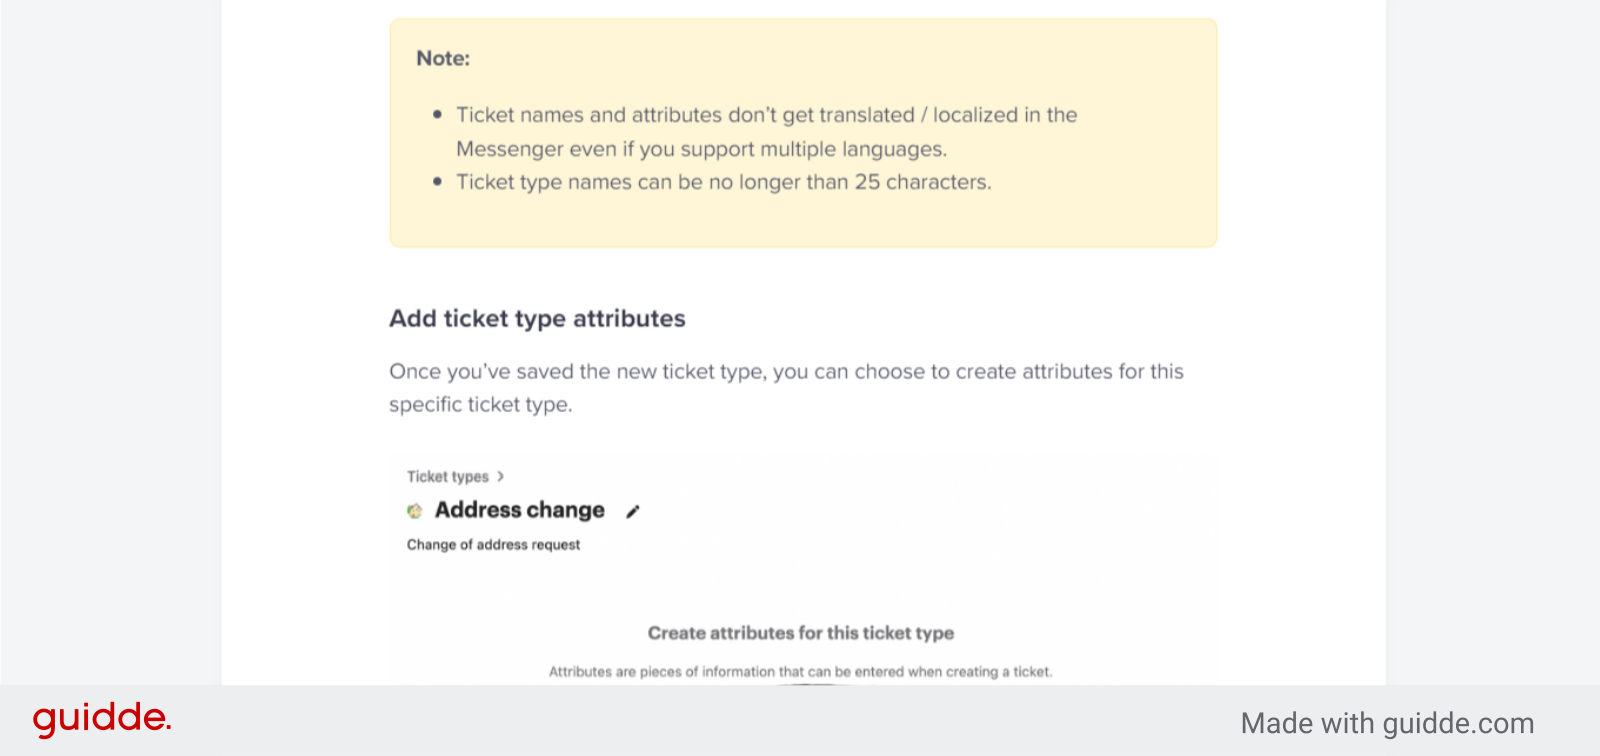
🎤 Attributes can take on different formats: Text, List, Number, Decimal Number, Boolean, Date & Time, File Upload. Required/Not required. Visibility (hide from form and/or hide from customer).
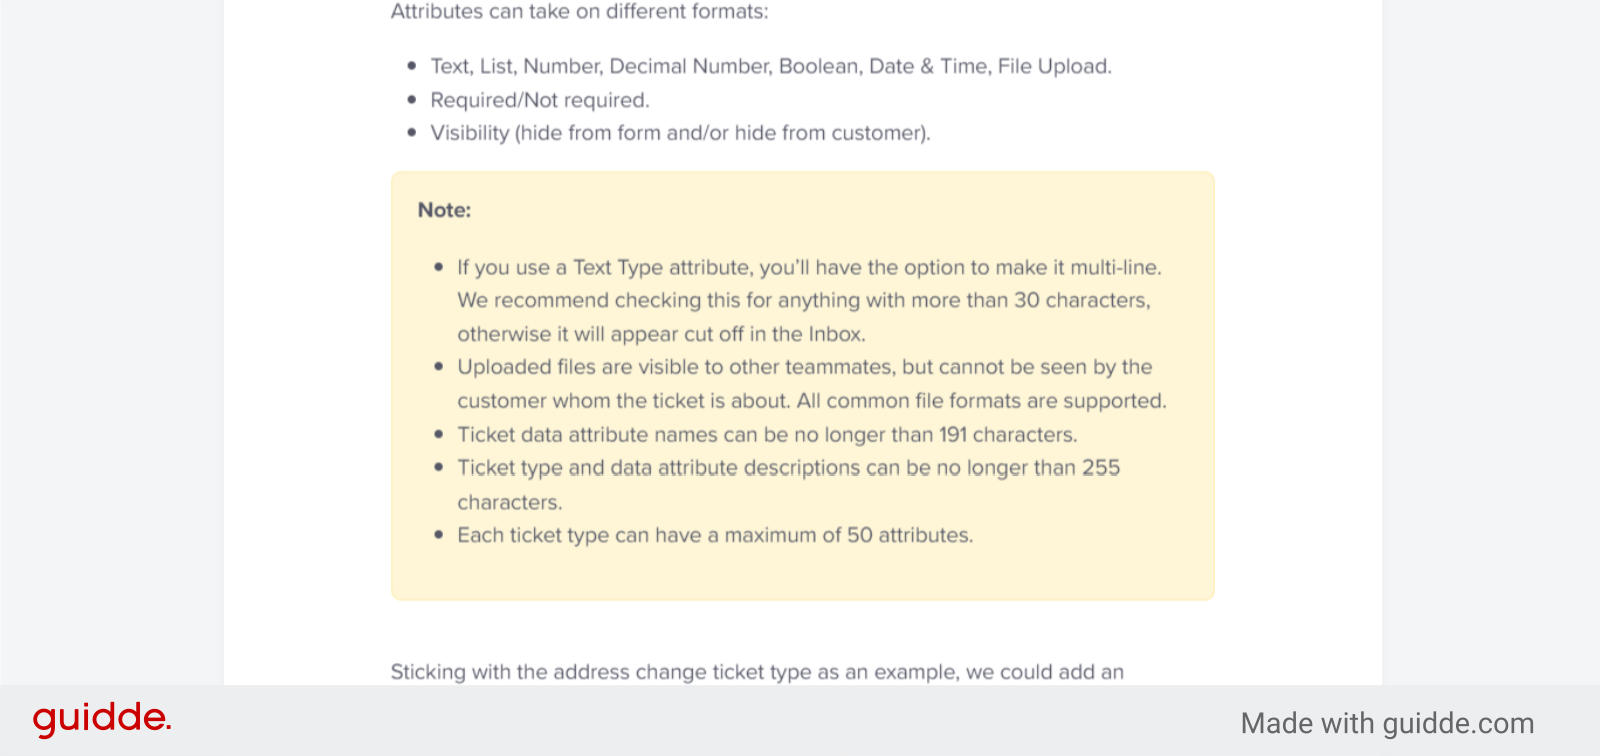
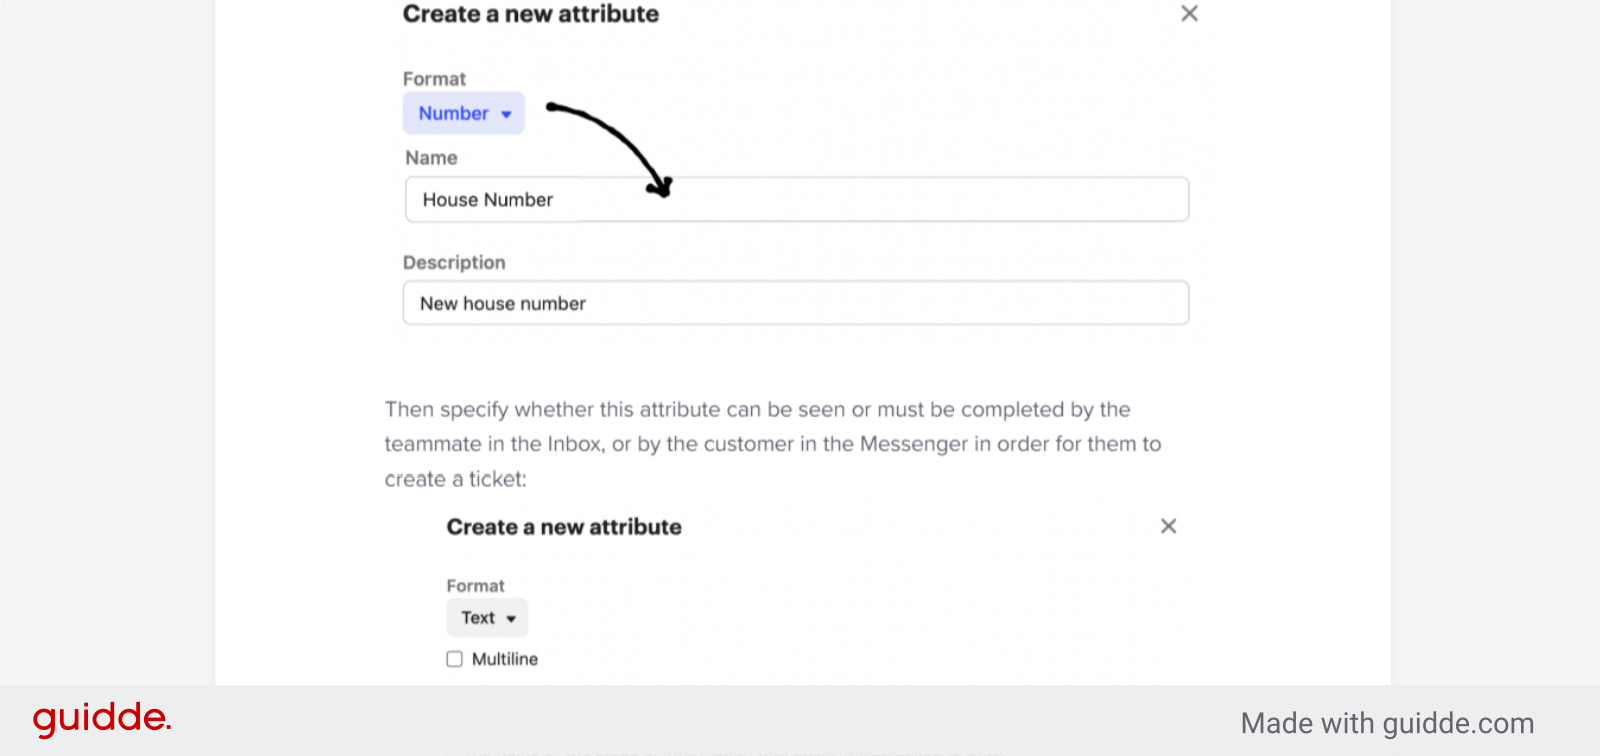
🎤 Sticking with the address change ticket type as an example, we could add an attribute for “House number” using a “Number” format to ensure the new house number is captured in the ticket: Then specify whether this attribute can be seen or must be completed by the teammate in the Inbox, or by the customer in the Messenger in order for them to create a ticket:
🎤 Continue to add attributes for the information you’d like to collect with this ticket type.
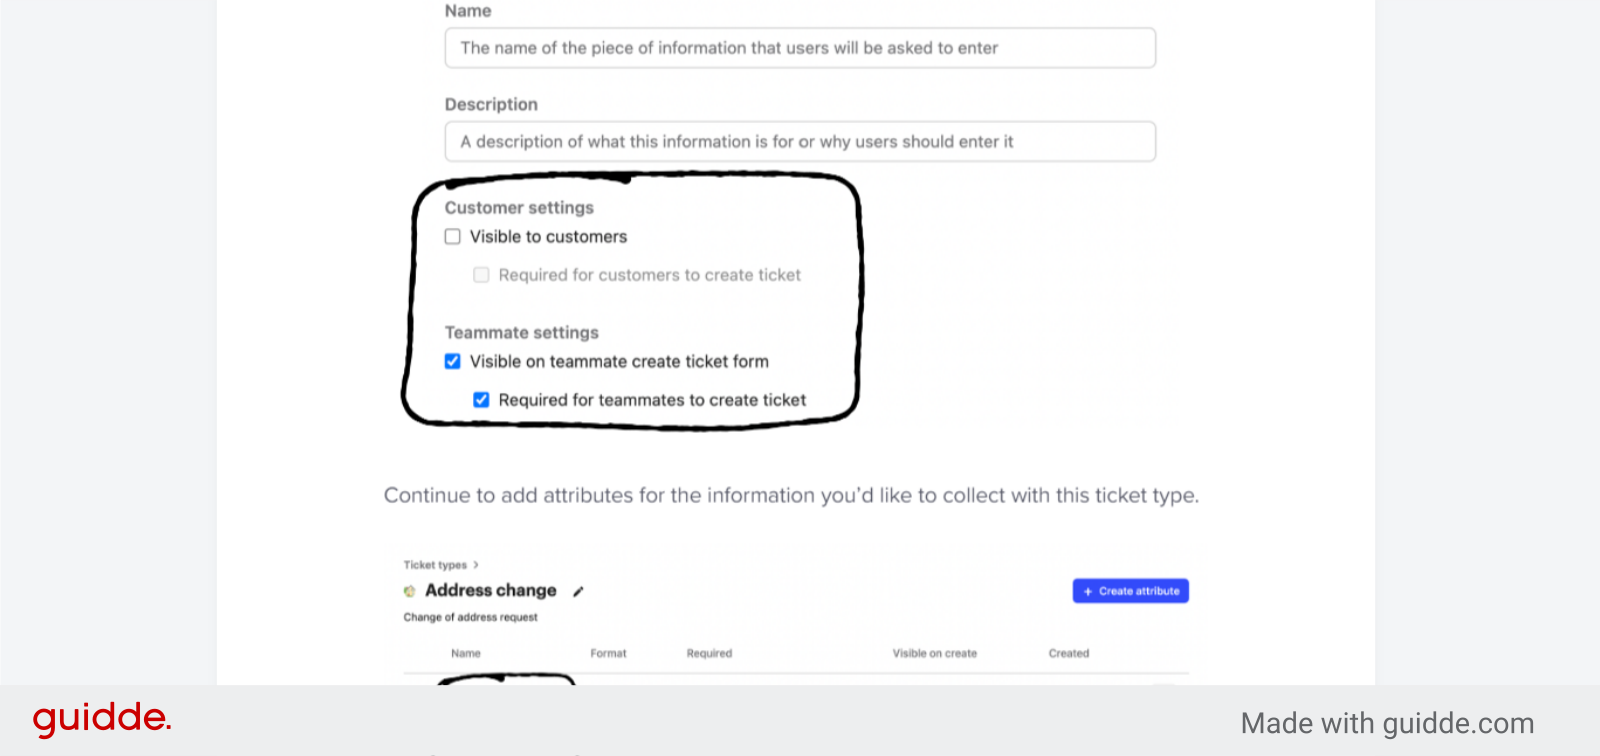
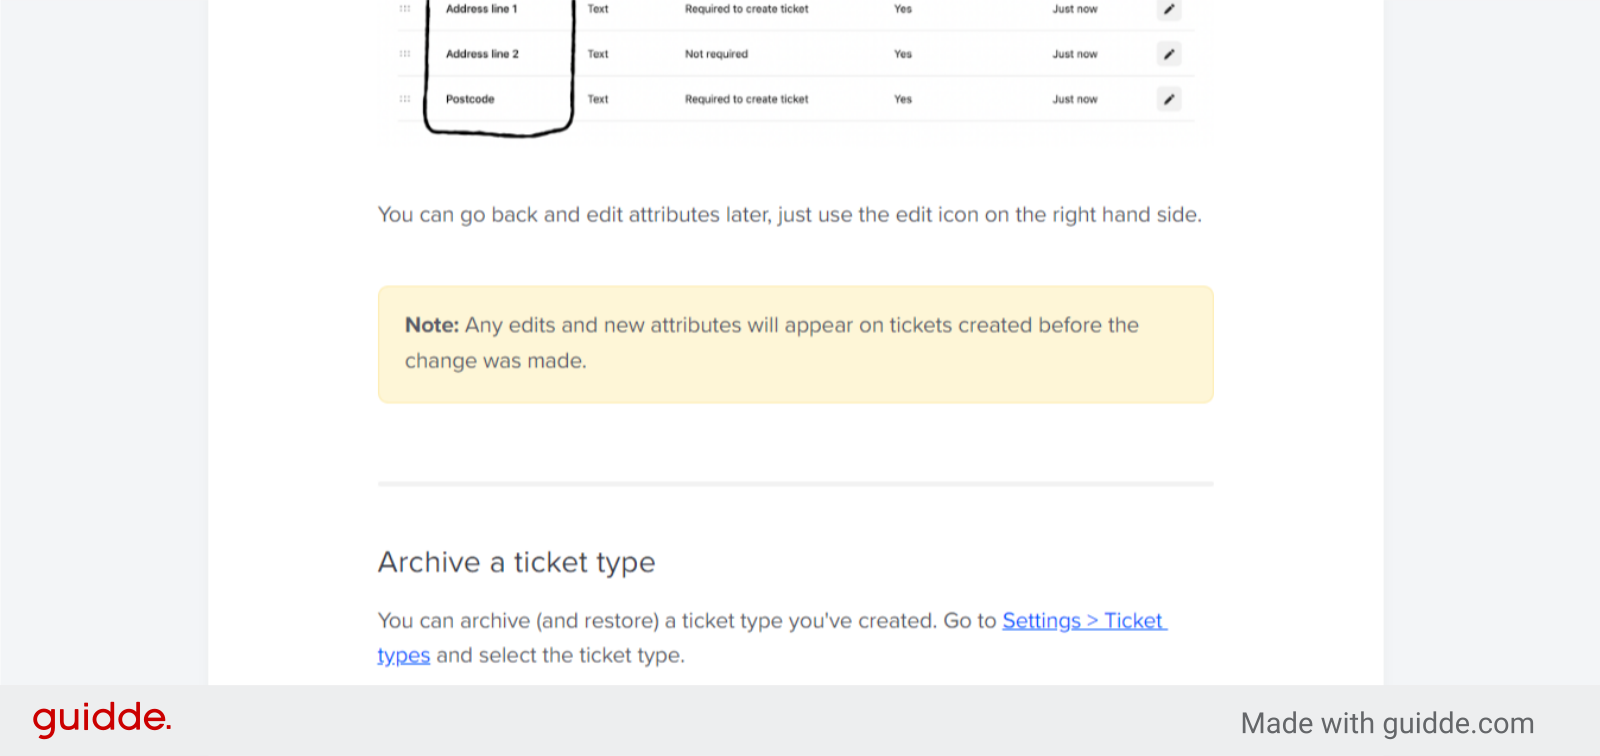
🎤 You can go back and edit attributes later, just use the edit icon on the right hand side.
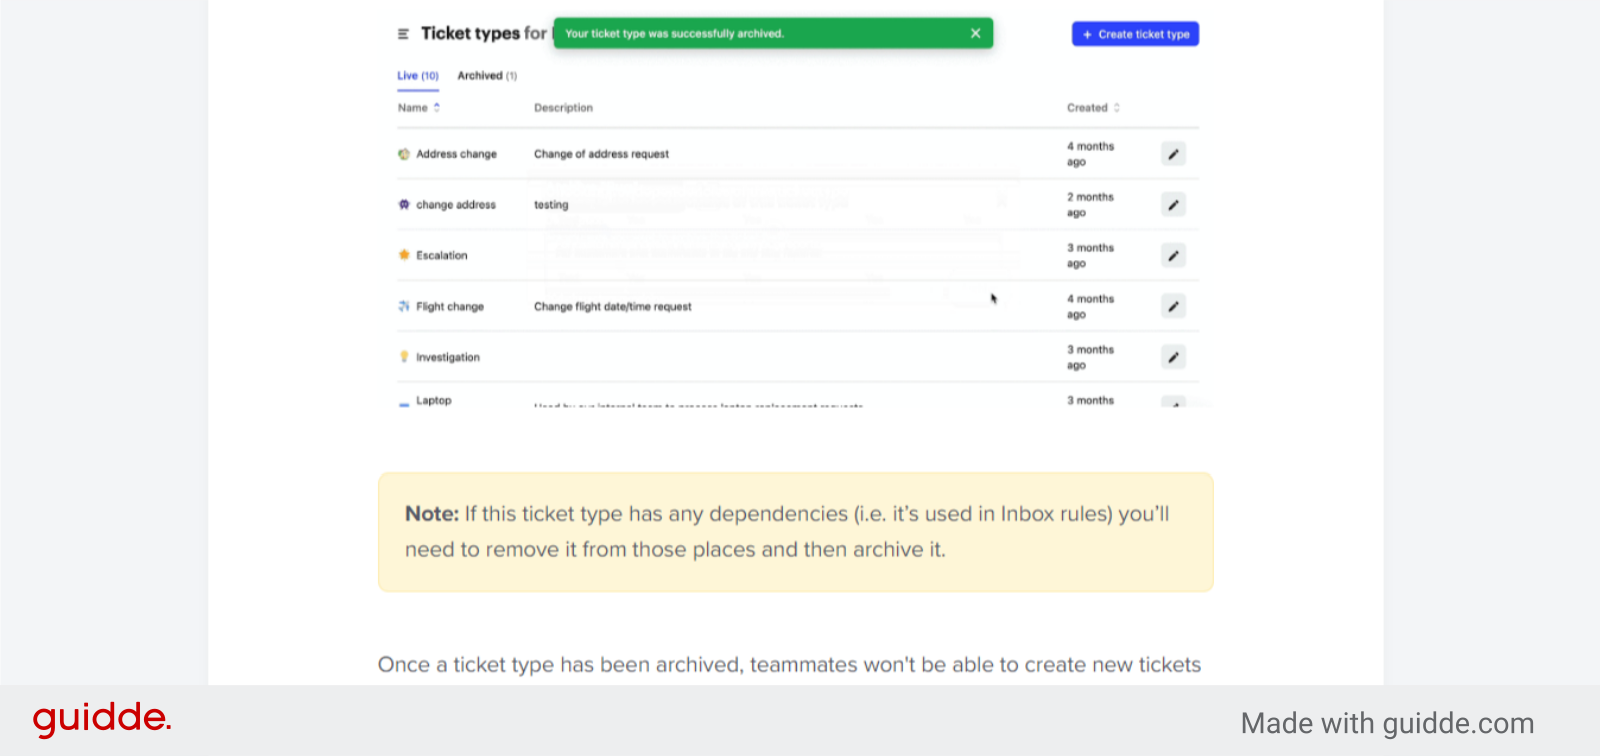
🎤 Archive a ticket type You can archive (and restore) a ticket type you've created. Go to Settings > Ticket types and select the ticket type. Then click the “Edit” icon next to the ticket type name and select “Archive”:
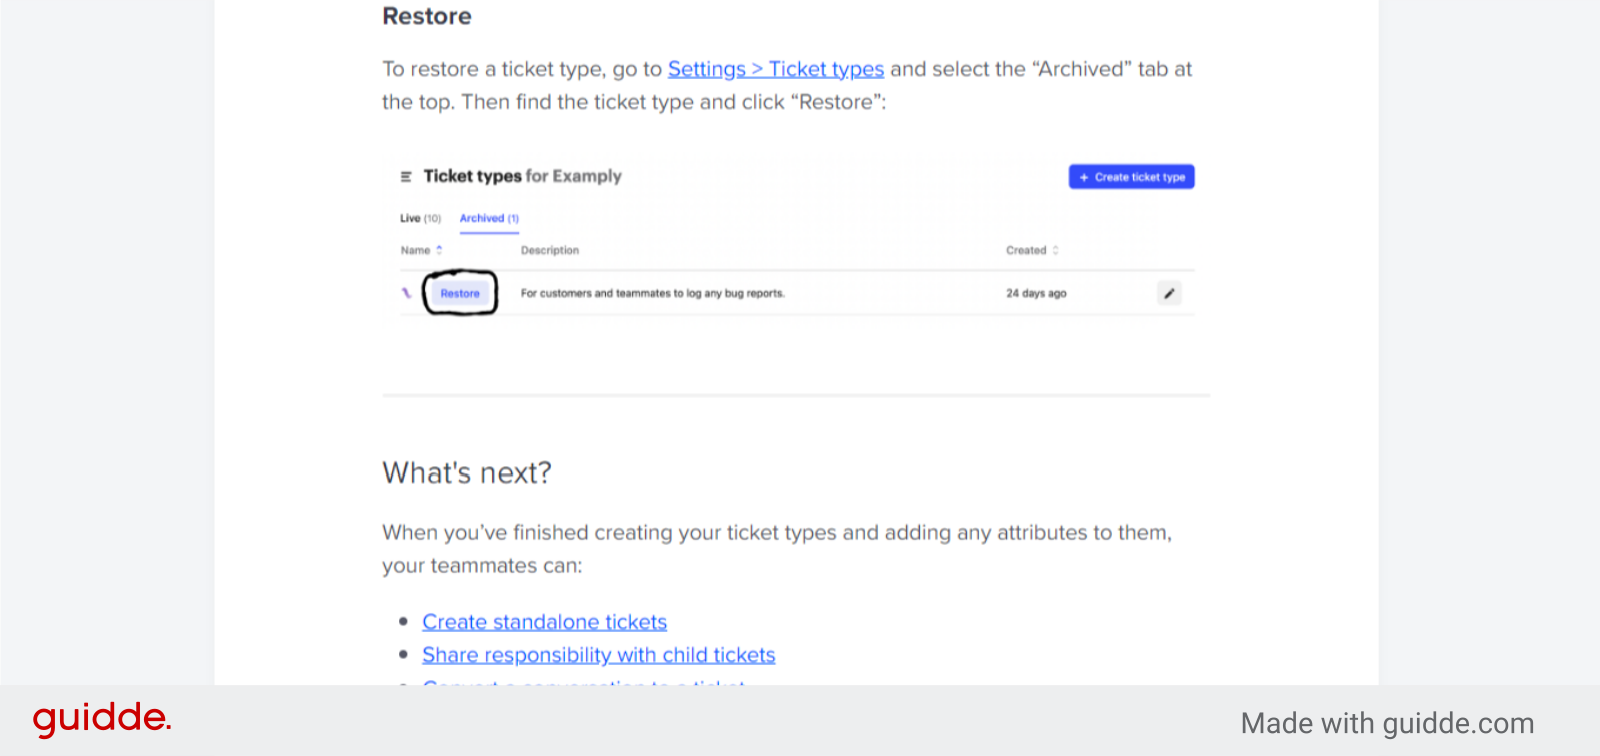
🎤 Restore To restore a ticket type, go to Settings > Ticket types and select the “Archived” tab at the top. Then find the ticket type and click “Restore”:
🎤
